How to Create a QR Code for a Restaurant Menu (2026 Guide)
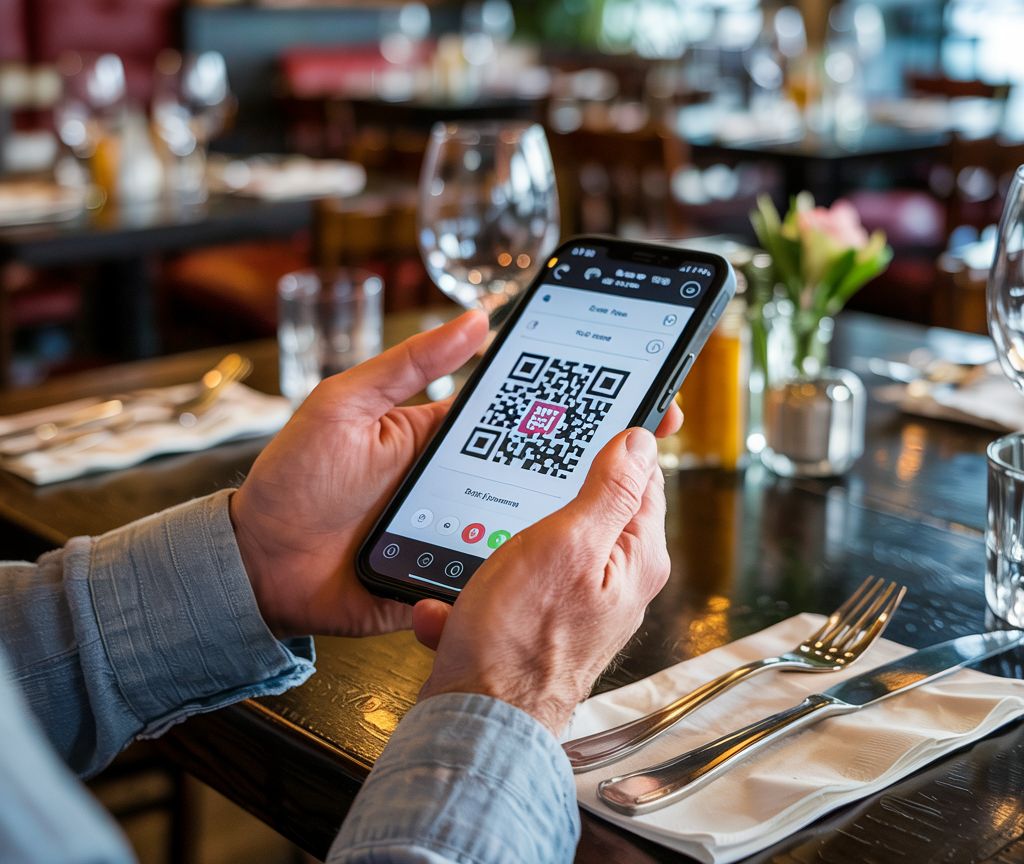
To create a QR code for a restaurant menu: publish your menu as a web page, generate a QR code that points at that page’s URL, print it at 2 cm or larger on matte stock, and test it on a real phone before service. The first code takes about twenty minutes. Every menu change after that takes none.
The step that decides whether you ever reprint is the one most guides skip past. It is not which generator you use, and it is not whether you pay for one. It is what you put inside the code. Encode a link to a PDF file and you have built something that breaks the first time you change a price. Encode a link to a menu page you control and the codes on your tables keep working for years.
Menus are the single most common thing people scan. In survey research reported by Bitly in November 2025, 48% of consumers said they scan QR codes to reach restaurant menus, ahead of product information at 43%. The National Restaurant Association’s 2026 State of the Restaurant Industry report names digital ordering, alongside automation and data analytics, as where operators expect the year’s efficiency gains. This is settled infrastructure now, not an experiment.
If you are still deciding whether a QR menu suits your room at all, start with whether a QR menu is worth it for your venue. If you have already decided, keep reading.
What You Need Before You Start
Three things: your menu content, somewhere to publish it, and a printer. No app, no hardware, no POS integration, no developer.
- Your dish list, with prices, in whatever form you have it now
- A place to publish it that gives you a stable web address
- A phone to test with, ideally not your newest one
- Table tents, stickers or card stock to print onto
Time: about twenty minutes for the first code, assuming your menu content already exists somewhere. Difficulty: beginner.
The twenty minutes assumes you are not also writing your menu from scratch. If you are starting from a blank page, budget a few hours for the writing and come back to this guide when you have something to publish.
Step 1: Publish Your Menu as a Web Page
By the end of this step you have a URL that opens your menu on a phone.
This comes first because the code is only a pointer. A QR code contains a short string of text and nothing else. It has no knowledge of your menu, no ability to update itself, and no memory of what you meant it to do. Everything that makes a QR menu useful lives at the other end of the link.
The destination needs to be a web page, not a file. A PDF is the tempting shortcut, because most restaurants already have one, and every generator will happily encode a link to it. On a phone, though, a PDF is a document you pinch and drag around rather than a menu you read. More importantly, you cannot mark a dish sold out in a PDF without producing an entirely new PDF, which is how restaurants end up reprinting codes. We have written separately about why a PDF menu underperforms on a phone.
What you want is a page whose content you can edit and whose address stays the same. That is what publishing through a menu platform gives you, and it is the actual product in any QR menu setup; we have compared nine QR menu generators on exactly that basis. The code is the free part. If you have not built the page yet, our step-by-step guide to creating an online menu covers that side.
Verification: open the URL on your own phone, over cellular data rather than the venue’s Wi-Fi. It should load quickly, be readable without zooming, and show current prices. If it fails any of those on your own phone, it will fail on a guest’s.
Step 2: Generate a Code That Points at a URL You Control
By the end of this step you have an image file of a code that resolves to your menu.
The mechanics take about thirty seconds. Paste your menu URL into any QR generator, choose your download format, and save the file. The decision worth thinking about is the one you have already made in Step 1, which is where that URL points.
This is where the static and dynamic distinction comes in, and where most guides make it more complicated than it is. A static code encodes your destination directly and permanently. Change the destination and every printed code is wrong. A dynamic code encodes a redirect address owned by the generator, which then forwards guests to wherever you currently point it, and which you typically pay a monthly fee for.
Here is the part the generator companies have no reason to tell you: if your menu already lives at a stable URL you control, a static code is fine. The redirect exists to solve a problem you do not have. Dynamic codes earn their fee when you need to repoint a code at an entirely different destination, or when you want per-code scan analytics. They do not make your menu editable. Your menu platform does that.
The trap to avoid is specific and common: encoding a link to a file in cloud storage. A Google Drive or Dropbox link to this month’s menu PDF looks like a URL and behaves like a landmine. Upload next month’s version and you usually get a new address, and every table tent in the building now points at a file that no longer exists.
Download as SVG if your printer accepts it, PNG at high resolution otherwise. SVG is vector, so it stays sharp at any print size.
Step 3: Customize the Code Without Breaking It
By the end of this step you have a code that looks like it belongs to your restaurant and still scans reliably.
You can put your logo in the middle, use your brand colours, and round off the corners of the modules. Codes carry error correction, which is why a logo covering the centre does not stop them working. When you add one, set the generator’s error correction to its higher setting so the code can absorb the covered area.
What you cannot do:
- Invert the contrast. Dark code on a light background. A light code on a dark background fails on a meaningful share of phone cameras, and you will not find out which ones until service.
- Remove the quiet zone. That is the blank margin around the code. Cameras use it to find the code’s edges. Designers delete it constantly to make layouts tidier and it is the most common reason a beautiful table tent does not scan.
- Use low-contrast brand colours. Pale gold on cream will pass on your monitor and fail on a printed card under warm restaurant lighting.
Scan it off your screen before you send anything to a printer.
Step 4: Print It at a Size That Actually Scans
By the end of this step you have physical codes ready for the room.
The working minimum for a table tent read at arm’s length is about 2 cm (0.8 in) square. The general rule of thumb is to size the code at roughly a tenth of the distance it will be scanned from: a code on a window that guests read from three metres away wants to be around 30 cm.
Print matte, not gloss. Gloss under downlighting produces a hotspot exactly where the camera needs contrast, and a laminated glossy table tent angled towards a ceiling light can be genuinely unscannable from a seated position. Matte lamination protects the card without the glare.
Placement matters as much as size. Put the code where a seated guest’s eyes already go, near the edge of the table rather than pushed against the wall with the condiments. Counter cards work for fast casual, window decals for passing trade, and a code on the receipt or the takeaway bag catches people after they leave.
Step 5: Test Before Service, Not During
By the end of this step you know the code works in your room, not just at your desk.
Test on more than your own phone. An older Android with a scratched lens is the realistic worst case, and it is the case that finds your problems. Run through this before the codes reach tables:
- Scan from a seated position at three or four different tables, not standing over them.
- Scan under the lighting you actually use in the evening, not daylight.
- Scan on cellular data with Wi-Fi turned off, and if possible from the back of the room where signal is weakest.
- Check that the page opens straight onto the menu, with no cookie wall or app prompt in the way.
- Hand a phone to someone who has not seen the menu and watch them find a dish without help.
Two failures only ever show up in the room. Glare, which your desk will never reproduce, and dead spots, where the corner table has one bar of signal and a menu page that loads too slowly to be worth waiting for. Both are cheap to fix before service and expensive to discover during it.
Step 6: Update the Menu Without Touching the Code
By the end of this step you never think about the code again.
Change the page, not the code. Mark the fish sold out at seven o’clock and every code already printed shows it sold out at seven o’clock. Move a price, add a special, reword a description: the tables are already current. This is the entire payoff of the setup, and it is why Step 1 mattered so much.
It is also the point at which printed menus start to look expensive, not because printing is costly in itself, but because a menu that is annoying to change tends to stay wrong. We have gone into what reprinting actually costs in more detail elsewhere.
The maintenance habit that matters: check the menu page during opening checks, the same way you check the tables. A QR menu that has drifted out of date is worse than a paper one, because guests trust it more.
What to Do About Guests Who Don’t Want to Scan
Keep some printed menus. This is the part the QR industry does not lead with, and it is the difference between a setup that works in a real dining room and one that generates complaints.
Resistance to scanning is real and it skews older. Research from William Blair, reported by Restaurant Dive in 2023, found 65% of consumers over 60 were uncomfortable using QR codes to view menus and order, with 47% of consumers overall saying the same. The same article cites National Restaurant Association research from that year putting interest in QR menu access at 46% of baby boomers against 73% of Gen Z adults. Those figures are a few years old now and comfort has broadly risen since, but the age gradient has not gone anywhere. By 2024, PYMNTS reported restaurants reintroducing paper menus in response to guest complaints.
There are also guests for whom this is an accessibility question rather than a preference. Small text on a phone is a barrier for low-vision diners, and a menu page that has not been built to work with a screen reader is a barrier for blind ones. A printed large-print menu behind the host stand costs almost nothing and solves a problem that a beautifully designed QR code cannot.
The operators who get this right treat the code as an addition rather than a replacement:
- Keep a small stack of printed menus and offer them without being asked
- Give staff one line to say: “there’s a code on the table, or I can bring you a printed one”
- Never make the code the only route to a price
Offering both costs you a handful of printed menus. Forcing the scan costs you the table that quietly resents it.
Getting It Onto Your Tables
The whole job is six steps and one decision. Publish the menu somewhere you can edit it. Encode that page’s address, not a file’s. Keep the code dark on light with its margin intact. Print at 2 cm or bigger, matte. Test it in your own room, on a bad phone, in evening light. Then stop thinking about the code and just keep the page current.
- The destination is the product; the code is a pointer at it
- A code aimed at a PDF is a reprint waiting to happen
- Most scan failures are glare, contrast or a missing quiet zone
- Paper alongside the code is a feature, not a failure
If you need somewhere to publish the menu itself, that is what HeyMenus does: your menu at a link you own, editable in seconds, with the code generated for you. Compare it against the alternatives on our comparison pages if you want to see how the options differ before committing.
Frequently asked questions
How do I make a QR code for my menu for free?
Free QR code generators produce a working code in seconds, and a code itself never costs anything to create. The recurring cost is hosting the menu page the code points at. If you generate a free code that points at a file you cannot edit, you will pay for that later in reprints.
Are QR code menus safe to scan?
A code printed and placed by the venue is safe. The real risk is a sticker someone has placed on top of the original code to redirect guests elsewhere. Check your table codes during opening checks, and use codes that are printed onto the table tent rather than stuck on as a separate label.
Do QR code menus expire?
The printed code never expires. The destination can. A code encodes a string of text permanently, so it keeps working for as long as the URL inside it keeps resolving to your menu.
Can I change the menu without reprinting the QR code?
Yes, if the code points at a menu page rather than at a file. Edit the page and every code already on your tables shows the new version. If the code points directly at a PDF, uploading a new PDF usually creates a new address and breaks every printed code.
What size should a menu QR code be printed at?
Around 2 cm (0.8 in) square is the practical minimum for a table tent read at arm’s length. The common rule of thumb is to scale the code to about a tenth of the distance it will be scanned from, so a window decal read from three metres needs to be roughly 30 cm.